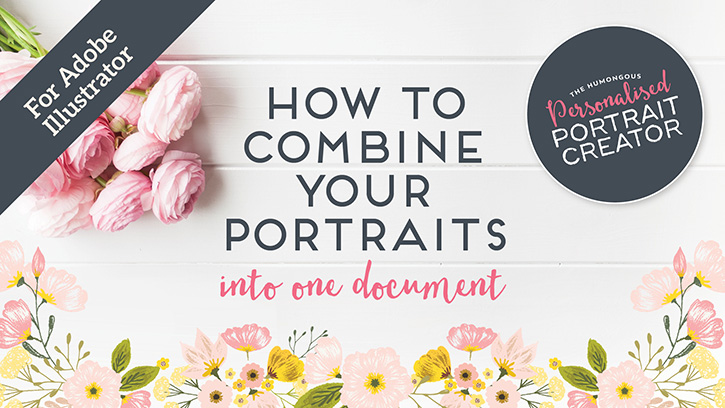
This quick Adobe Illustrator tutorial shows you how to combine your already created Personalised Portraits into one file.
You’ll also learn how to add text and use the Warp > Arc tool, a great way to display a family name for wall art and gifts. Enjoy!


What a talent you are. Thank you for sharing your magic.
Michelle E Black
Thank you so much Michelle! That’s super kind of you, I really appreciate it.
how do move potraits behind another one? example: man behind woman overlapping?
Hi Kristin,
The easiest way to have control that would be to have your grouped character on their own layer. So your man on one layer and your woman on another. Then simply use the layers panel to drag the characters’ layer above or below the other character. Hope that helps! If you have any other questions at all, please don’t hesitate to let me know.
Can you make the man shorter than the woman without making proportions awkward…?
Hi Sarah,
You can use the warp tool to adjust the features and body part once you’ve reduced the height of the portrait. To do that, only reduce the height of the body and clothing without the facial features or hair – don’t do it too much, as the warp tool can only fix so much. Then move the facial features and hair back to the correct position – these should be unaffected by any reduction in height leaving you only with the body to adjust. Using the warp tool gently “tease” the areas of the body so that they look more natural, you may have to adjust the brush size continuously depending on the area you are working on. You’ll need to tease features until they look natural. Hope that helps!
Is this a good way to make a full length ‘portrait’ slimmer in the character creation process, too? I’m working with the pregnancy creator, and my subject is actually quite a bit slimmer than the slimmest body style. I was wondering if I could just stretch it a bit, but perhaps warp is a better tool for that process?
Hi Kelly, The best would to use the warp tool. If you “squeeze” the entire portrait you’ll end up distorting everything which could look odd. I would recommend focusing in the legs and hip area, maybe even the tummy with the warp tool to get those areas slimmer. Remember to turn off Detail and Simplify under the options of the Warp Tool to retain the sketchy detail as you work. Hope that answers your question. If you have any other questions at all, please don’t hesitate to let me know.
I’d love information on how to easily create the portrait in a circle or edit the bottom half to disappear, making a more close up image. I’m taking a million steps to do it and would love a shortcut.
Hi Lindsay, there are a few ways you can do that. First thing I recommend is make a copy of your portrait. Depending on which software you are using it would be easier for you to flatten your portrait or group your portrait into one layer. You can then either just erase the parts you don’t want, or use a clipping mask. Here are some tutorials to assist you.
For Adobe Illustrator click here.
For Adobe Photoshop click here.
Hope that helps, let me know if you have any other questions!
I just got Version 8 – and I’m very new to AI and Photoshop. I am working with the AI version and I have the dumbest of dumb questions to ask. I read through the little PDF guide and watched the initial video and how to bring the portraits together. I saw all the warnings at the back of the guide and just want to be sure that I understand. When I open up a body and I am going to create my portrait I should first do a SAVE AS and start with a newly named file so I can avoid even inadvertently moving things around or modifying the original layer panel. Is that correct? Once I’ve done that I am then free to learn and mess up without impacting the original downloaded files. And I should hold off grouping anything until I save a copy of the portrait and place it into the layer of a new file that will hold all the characters. I’m in way over my head but am really enjoying learning to use AI. Thank you!
It sounds like you are getting along well and have a good grasp of the basics. Yes you are 100% correct that you should always save a coffee first before making any major changes to the document just so that you retain the original files integrity – however remember that you can always re-download your order any time from your account should you make a boo-boo. The Portrait Creator is a fantastic way to learn Adobe illustrator or Adobe photoshop, essentially you are learning all the tools and their functions as you create. Hope you enjoy creating your portraits!