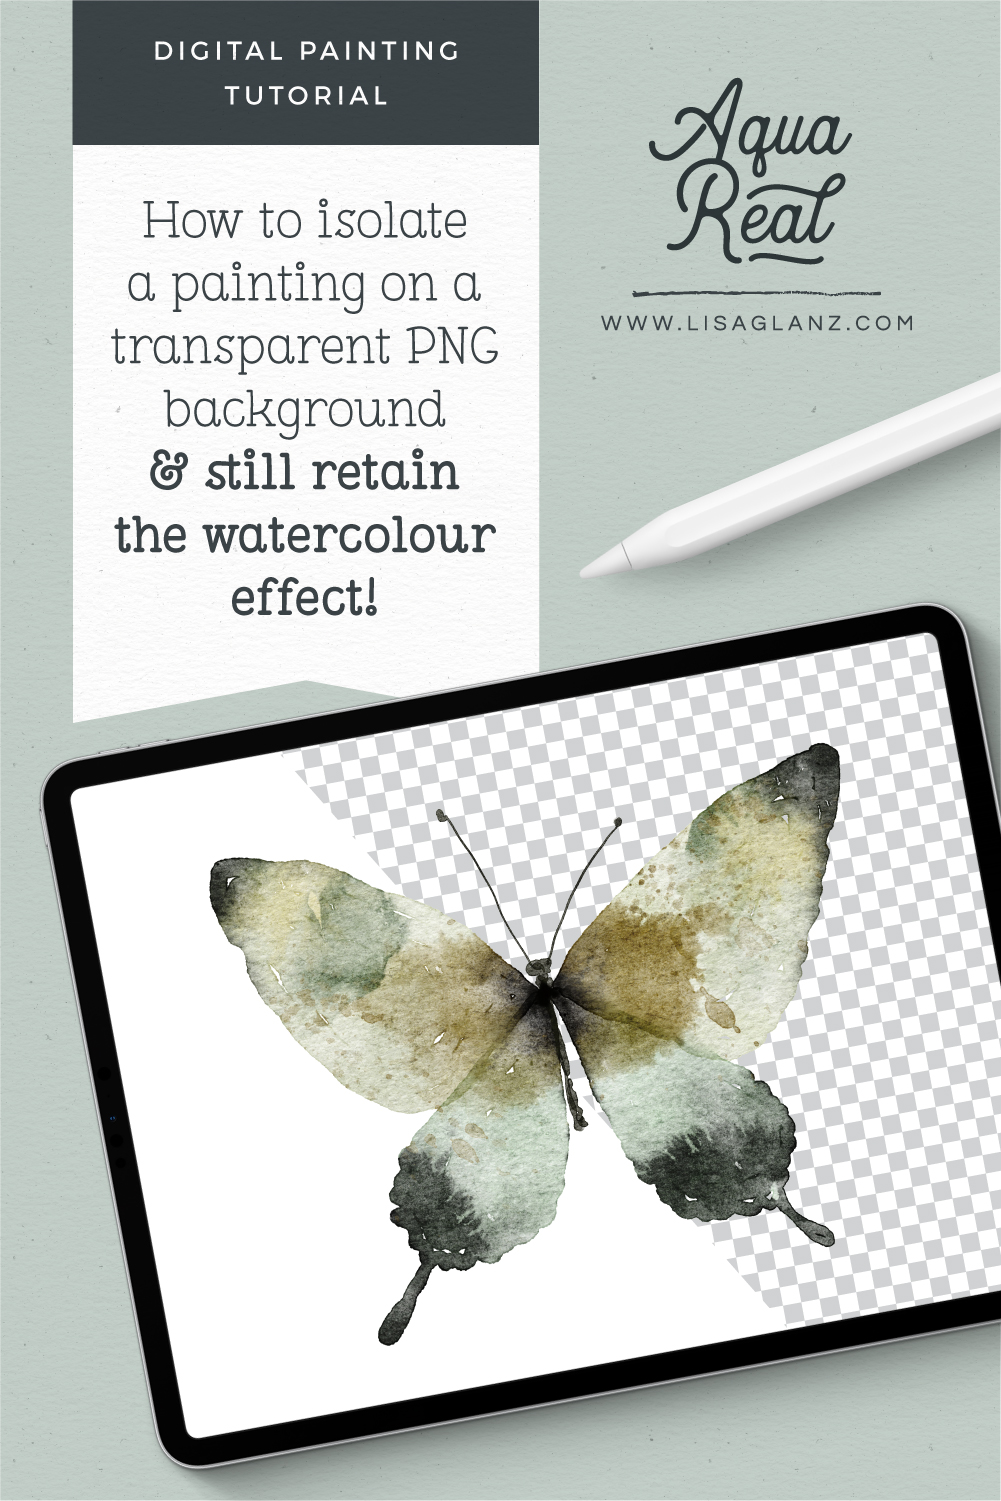
Preparing your digital watercolour work for commercial use
One of the great benefits of digital watercolour painting is your desk stays clean! No need to drag out your paint brushes or messy palettes. Plus, as a commercial artist this next benefit might be my favourite, no more spending hours scanning your work.
But what if you need to remove the background so you can save your painting as a transparent PNG file?
This is necessary if you want to use your watercolour motif in a pattern design, sell as clipart, or use your painting in other projects that require a transparent PNG file.
In this quick tutorial you’ll learn an easy method to removing the background of your painting but still retain the lovely watercolour texture and effects.


Lisa – you are a legend! Your explanations are SO well put together. You manage to incorporate each little step and make it super easy for users to see what you’re doing. Can’t wait to try it out. Thank you very much and have a Super Saturday.
Hi Robby,
That makes me super happy reading your comment! So glad you find it useful and easy to follow
My answer is – just disable the bottom layer with the background?
I am fascinated by your watercolor brushes.
Hi Natali, I wish it was that simple With the overlay effects of the canvas that interacts with the brushes and artwork underneath them, turning off the background layer still leaves those overlay effects visible. So to retain the watercolour enhancement, you’ll have to leave those on and remove the background like the video
Purchased your amazing watercolor brushes and am enjoying them so much. Thanks a million for this tutorial. I was struggling to speed up the background removal process. This is so simple and a good workflow vs other methods I’ve tried!
Yay!! So happy the tutorial was helpful! I was also using a long-way-around process then went to work on figuring out a better way. I think this method will be a huge timesaver for all of us Happy painting!
This video was so incredibly helpful and exactly what I needed to learn how to do to finish off the artwork for a children’s book I’m illustrating for. So, THANK YOU LISA!
Fantastic Lydia!! Super happy this was helpful! Best of luck with your book project, sounds wonderful!!
Really a fantastic tutorial – and so easy to understand (my mother language is not english!).
I bought myself your Aqua Reals for Christmas and I`m loving to work with them. And on top this really helpful video – and in a second or so the background is gone. Thank you so much, Lisa.
Have a good new year and best wishes for you.
Yay!! Super happy you found the tutorial helpful Diana! So glad you’re enjoying the brushes. Hope you continue to enjoy your painting session Happy creating!
Hi Lisa… luvin’ the brushes and tutorials… I have a question that procreate can’t seems to answer, I’m thinking you can… .
How do you merge your layers, that have different effects, so that I can remove the background, as in this tutorial. I merge, and they all get wonky
Hi Cynthia,
So glad you’re enjoying the brushes and tutorials! Yay! Not sure what you mean by wonky Do you mean they change colour or the effect is lost when you merge them?
Some of the blending modes don’t merge down well as they are essentially effects that “react” with the layer underneath and if you flatten them that reaction changes or is lost. Some effects don’t merge well because of that, but some do (like Multiply). I find the blend modes that appear above “normal” tend to flatten better than the ones under that but that’s not a set rule. It also depends on the colour you use.
You may need to experiment with your blend modes and choose ones that merge better. I tend to use Multiply and Colour Burn and Linear Burn as these work well for me. Hope that helps!
Yes, Thankyou…that ha helped…
Great! Glad I could help
Thank you for this tutorial! I have literally spent months trying to figure out how to do this and my process has been so awkward and clumsy. I’m so grateful!
Whoop! It’s a great pleasure! Super happy that I could help simplify the process for you!
Thank you so much Lisa! Besides admiring your beautiful artwork now I can create my own as well.
It’s a great pleasure Maggie! I really enjoy helping other creatives where I can xx
This is such valuable information. Thank you so much for sharing it!!
It’s a great pleasure, so glad you found it useful Karien!
This is brilliant! I saw you talked about this method on one of your hour long tutorial on Design Cut on YouTube and thank you for posting a short version here on your website which is very easy to find and exactly what I need when I forget how to do this process. I have been practicing this method on my Procreate and find it getting easier and easier to do this. Thank you so much and I love your tutorials. So helpful !!
Aww!! That makes me super happy to read your comment! So glad it was helpful. Happy creating!
Hi Lisa,
Thank you for this tutorial! I created a watercolour paining without using the paper effects backrgound (just a standard procreate canvas). Should this method still work? So far, I’m not able to isolate the image, and I’m wondering if it’s because I didn’t uset the paper effects canvas as my background?
Thank you!
Sarah
Hi Sarah, Are you using any texture overlay at all in your painting? If not you could just turn the background off if it’s just white then save as a PNG file. If you want the watercolour illustration to have a white under layer and not translucent, then you should be able to follow the same steps in the video (but you’ll just be flattening it with a white background and not all the textures as well). You might be missing a step or you might have “clear” or “colour fill” or some other one selected in your selection option instead of “invert”. Not sure if that’s helpful at all!