
I’m a shameless die-hard Adobe Illustrator fan.
But you probably know that already! I create 95% of my work in Illustrator even if it begins on paper or Procreate.
So why do I love Illustrator so much?
There are many reasons but the most important ones are:
- Limitless scaling of artwork without compromising quality. That’s a super power right there!
- Applying colour using the swatches panel makes colour work a pleasure – here’s a free guide to the swatches panel if you need a refresher on all the functions.
- Arguably the best pattern design and creation software out there – no complicated maths required.
- Shape creation and manipulation tools are incredible! My favourite is the Warp Tool.
- And if you need a raster file you can easily export in many different raster formats.
There are of course some disadvantages.
The biggest one that impacts my work is the ability to quickly apply texture or a hand crafted look – raster apps like Adobe Photoshop and Procreate win the battle on that one!
Strangely this disadvantage has actually been a blessing – eeek! reading that back it sounds like one of those cheesy sucky quotes “there are no problems only opportunities”!
But it’s true, it really has been a good thing.
I’m always on the hunt to improve texture application in Adobe Illustrator. And over the years I’ve developed workflows and techniques to add texture to my artwork but still keep them 100% vector.
My illustration style is largely as a result of these workflows. Plus my texture quests are one of the most enjoyable times I have in my studio – I experiment and tinker for hours to find another cool way to add instant grunge!
One of those tinkering results is a noise texture I developed as a carefully constructed collection of seamless vector patterns, colourised and layered to create a noise effect – usually only achievable with raster filters.
Here’s a before and after – the applied texture gives the piece a “printed” look which is especially handy for digital images:
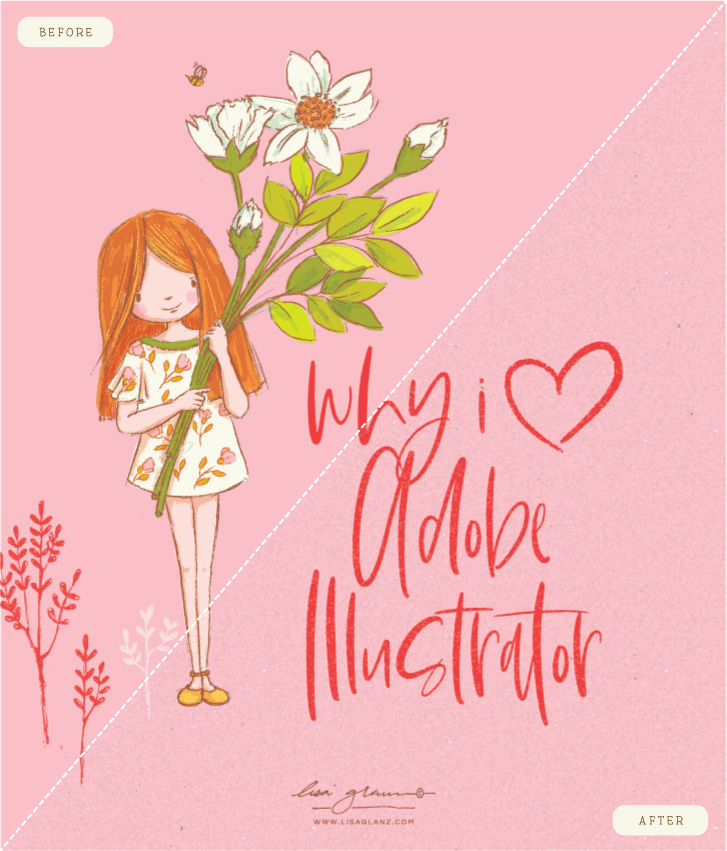
And the beauty about these is the infinite scalability and noise size control.
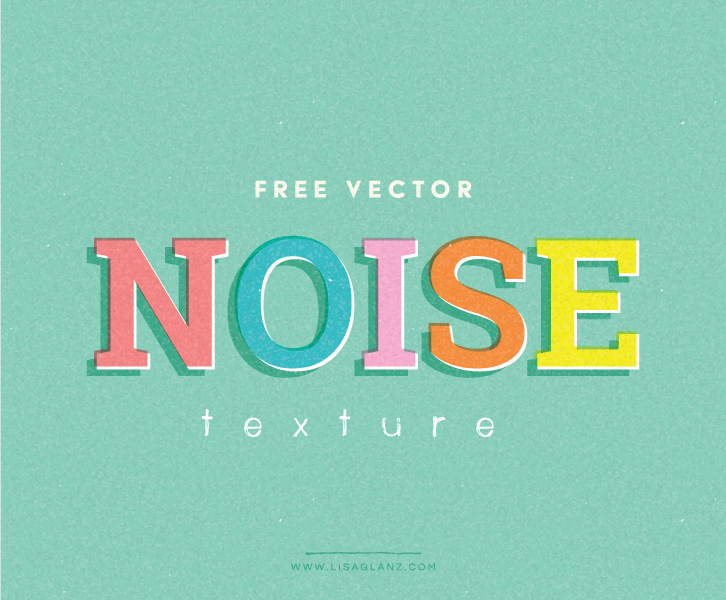
I love sharing my mad-scientist results, so if you want to grab your copy of the free Noise Texture for Adobe Illustrator, head over to the Treasure Trove. I’ve also included an instruction video to get you started!
Not a subscriber yet? Sign up below and get access to all the goodies available in the Treasure Trove!


Thank you so much for sharing this helpful information and for making a video about it!
It’s a great pleasure Michelle! Hope you enjoy using it 🙂
I love your creations! I am just starting to use your bird and character kits! They are awesome! The only thing is that I only know how to use Photoshop. So, I was wondering what brushes I might use to color my creations to make them have the hand drawn effect like your examples?!? Are there special pencil brushes I need to purchase?
Hi Kirsten, Thank you so much for your lovely comments!
I’m so happy you’re enjoying the Character Drawing toolkits. The achieve a hand drawn look in Adobe Photoshop the best would be to use dry media brushes. If I’m not mistaken the latest version of PS comes with a few made by Kyle T. Webster. You can also buy some more from places like Design Cuts or Creative Market. Hope that helps! Happy creating 🙂
Thank you so much! I am excited to try out the brushes
I am just starting out and stumbled upon you in Creative Market. Is there any chance you will do a water color brush set for AI is the best future?
Hi Traci! I generally don’t do much drawing as such in Adobe Illustrator, usually only add colour, texture and create designs and layouts, so my brush use (and knowledge) isn’t really where my expertise lie 🙂 I’m more of Procreate gal for brush creation! Have you had a look in the Creative Market and Design Cuts Adobe Illustrator brush section? I’m sure they have some good watercolour brushes 🙂 Hope that helps!
Thank you for sharing this and making a video. I love Adobe Illustrator but still working on adding textures to my work
You’re such an inspiration
Aw!! Thank you Kate, you’re so lovely! Definitely keep experimenting and trying new ways to add texture, eventually you’ll find the best solution and workflow for your style and artwork. Happy creating!
Hi Lisa,
I love your cute characters from Procreate tutorials, but the flowers in this video are really beautiful. Did you create them in Procreate and then vectorized them. Which brushes did you use?
I would love to have more videos about your process with creating flowers.
Thank you so much for sharing
So glad you are enjoying the tutorials! Thank you so much for your lovely comments I do have a class on botanical drawing that walks you through my process I use to draw flowers. It also teaches you how to tackle complex flowers and shapes, you can find it here. The drawing process I used is a combination of techniques. I started with pencil on paper, then scanned to vectorise. I then used Procreate to add shapes and texture and brought that back into Adobe Illustrator to vectorise to add colour and finish. It’s the same technique I used in this class. Hope that helps!