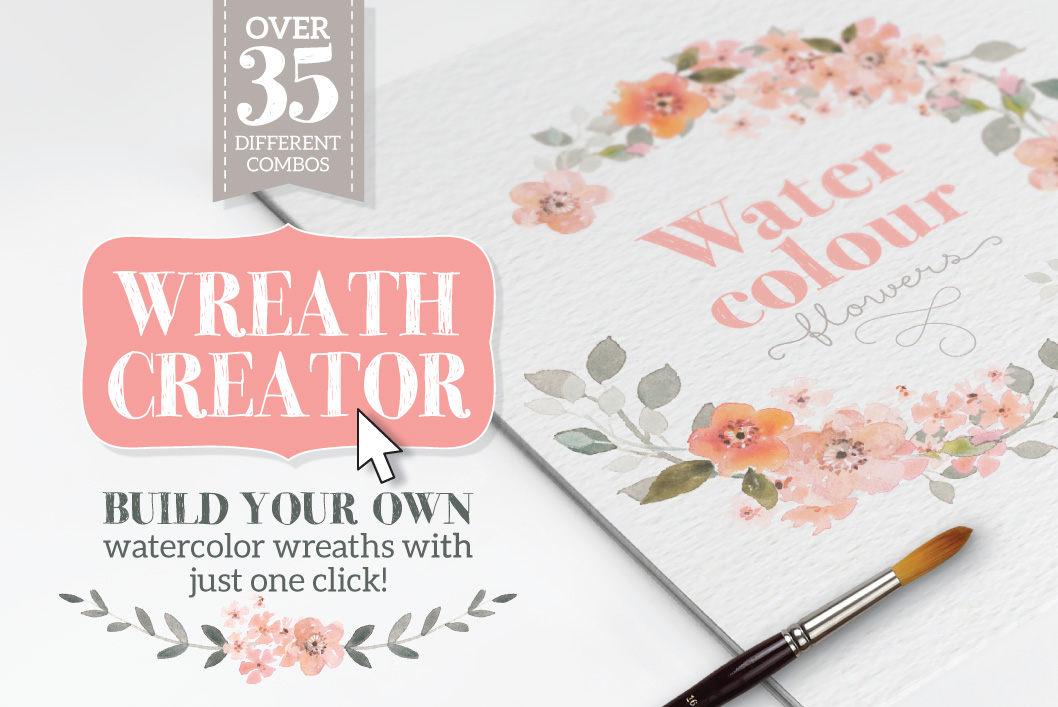
I’m really proud to present my latest graphic resource, The Watercolour Wreath Creator! It’s a product of many hours of painting, designing and trial and error. The result? A DIY graphic set with a difference!
It all started last year November with an idea that came to me while I was out running (I strangely often get creative ideas when I go for a run). My idea was to somehow create a file that allowed the end user to create their own wreaths depending on their needs, but to make it super easy and super fun to use! So I got cracking!

First came the painting and experimenting with colours, flowers and shapes. Then came the design and layout, which was a little trickier than I thought. Eventually after some trial and error, I created a single document with different layers that allows the user to pick and choose what flower combinations they would like for their wreath. All with just a few clicks! It was fairly challenging to find a balance between each layer working on its own, and the layers looking great when used together. But I think I manage to achieve that!
I really loved creating and developing this – I still open it up every now and then to play with the file myself!


hi Lisa, your watercolor wreaths are absolutely exquisite as is the rest of your work. If I wanted to play around with a few watercolors of my own and bring them into Illustrator do I just scan them in and clean up the background in P.shop or is there more to it than that?
I also love your new font. Can’t wait to see the next one! As soon as I’m up and riding on my new Mac I’ll be able to purchase a few goodies. Can’t wait.
Hi Carrie,
Thank you for your lovely comments about my work! Yes, that’s pretty much all you need to do. So scan it in at a really high-resolution like 600dpi. Clean up any imperfections and marks, then remove the background so that it sits on a transparent background (this is a little tedious but worth it). Then save your file as a 300dpi PNG file. You can now import into Illustrator to use. Remember the imported image will always be a raster image and not vector.
Hope that helps! Yay to getting a new Mac!!! Enjoy 🙂